I am a very big fan of the hot glue gun. I am not, however a fan of the glue in the glue gun. Especially the tails I seem to drag everywhere once I’ve glued whatever it is.
So, I am on medical leave after surgery and I am going stir crazy. When I go to the store, I experience pain in my abdomen, which is to be expected having had an internal organ removed. Obviously, it isn’t anything life threatening and sitting down and relaxing helps it a lot. That said, I haven’t done a lot of shopping at all. Short trips and someone is always with me.
Until today.
Now, I’m not trying to injure myself or anything, but I’ve been looking forward to doing something by myself, finally. My first two days post surgery, I didn’t go to the bathroom by myself. Even in the middle of the night, my husband would wake up and escort me to the bathroom. I get hollered at for reaching for things on a shelf that’s higher than my head. I practically have panic attacks when something I need or am putting away is on the top shelf. We were at the store and I grabbed some whipping cream from the top shelf and all I heard behind me was, “TOP SHELF.” In the Dad voice. It was embarrassing.
The trip today was short, but I did manage to walk the length of the store, as my goal was to get to the Christmas decorations. I wanted to get a deer head ornament we had seen at Walmart in another town. I had a stroke of genius, which you’ll see tomorrow.
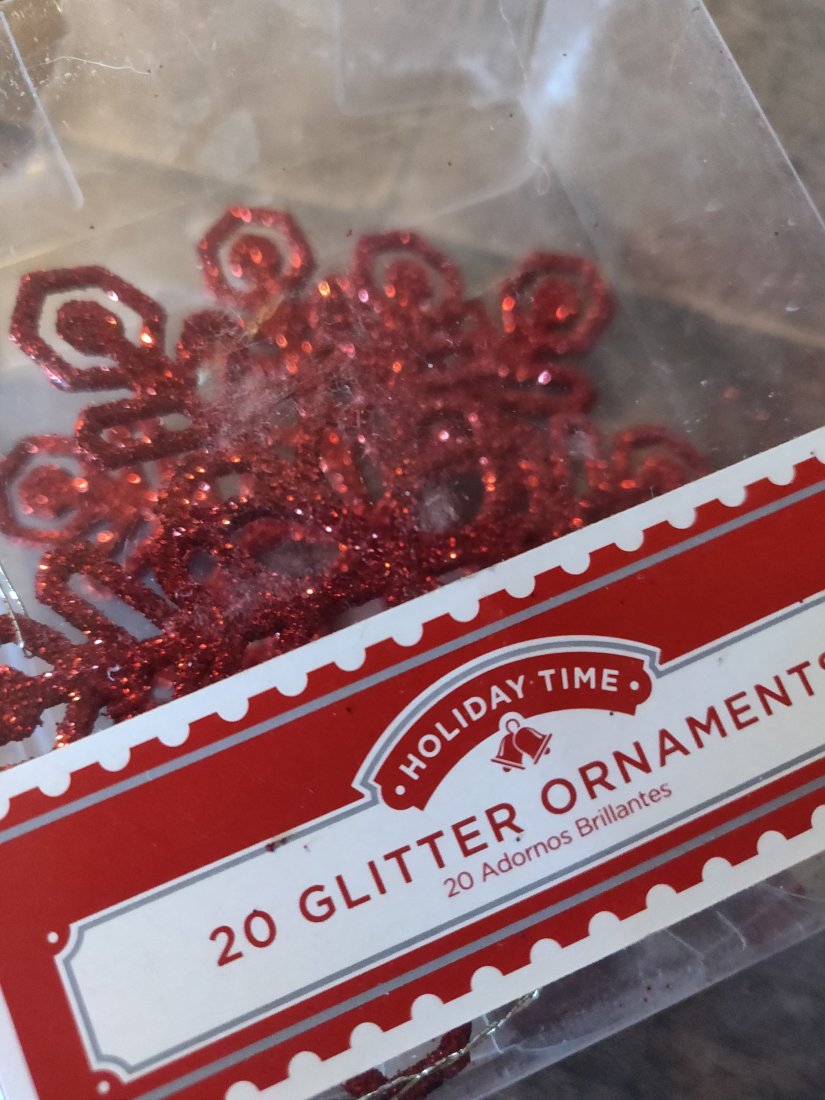
They didn’t have what I was after at my Walmart, but I found some cute stuff. Including these Glitter Ornaments.
This is how you know I am bored. I am known for saying that things like glitter and tinsel were creations of the devils minions and were part of Satan’s grand plan for world domination. But I have purchased more glitter in the last few weeks than I have ever had the displeasure of looking at.
So, I bought some. And a bunch of other stuff. These were going to adorn various wreaths I made or bought. Then I started thinking. I took them out and laid them out on the bed and I made a wreath with just the ornaments and I liked it.
Here’s what I used:

Hot Glue Gun
Pack of 20 glitter ornaments
Scissors
Wax paper
Here’s what I did:
I cut all the gold hangers from the ornaments- the way they are arranged, the wreath won’t hang right where the hangers were attached.
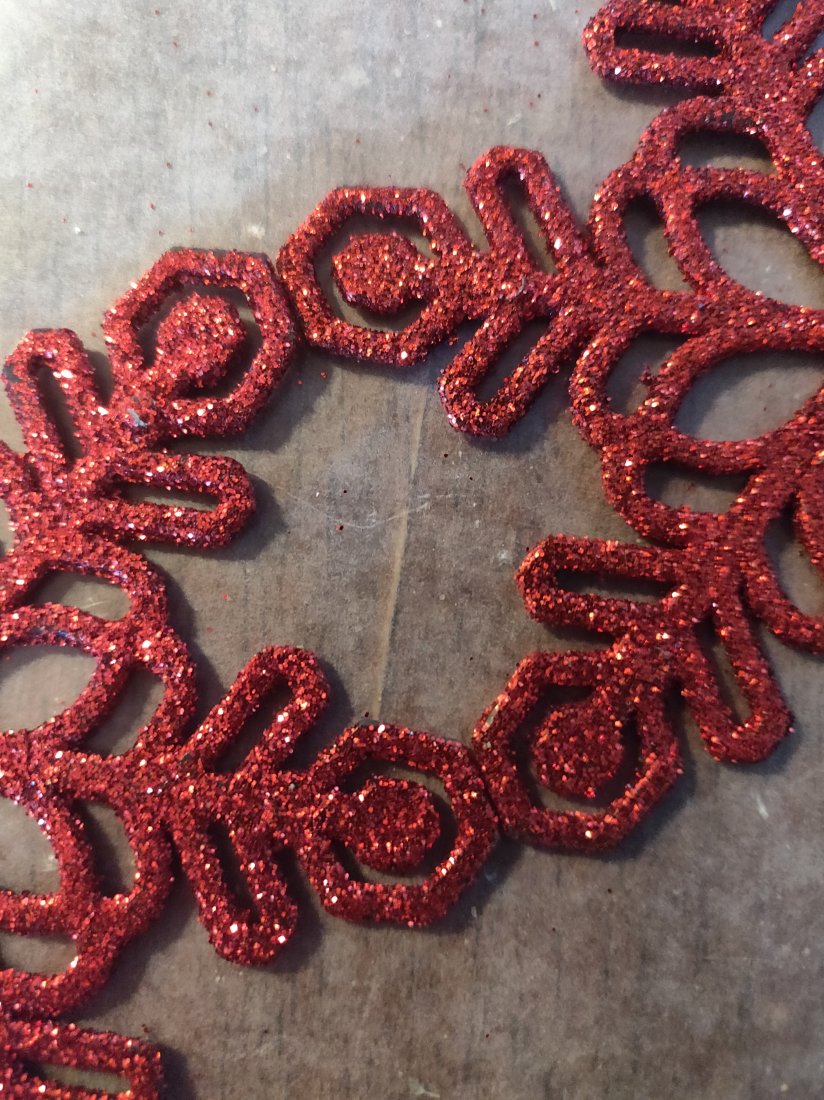
Arrange the ornaments in a circle on the wax paper. As the picture shows, these ornaments have pentagons on the ends, so they line up nicely, and using those as the connector points makes it easy to arrange them into a circle. Glue the ornaments together at the points that are touching, using enough glue to cover both parts.

Once the glue has set and cooled off (remember, it IS hot glue, a lesson I re-learned after sticking my thumb into the damn glue on one of the ornaments), peel from the wax paper and use the scissors to trim any glue that’s visible from the ‘front’ side.
Add a ribbon or string to hang wherever you’d like!

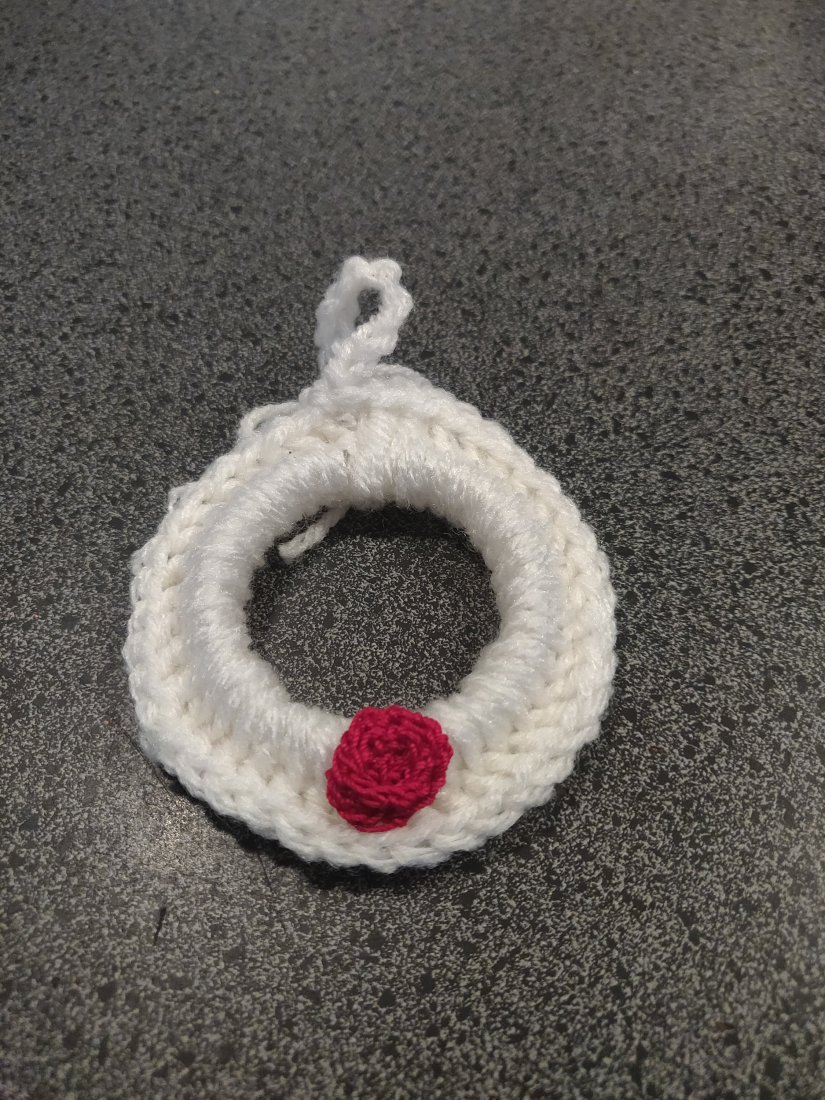
Here are mine. I used 6 ornaments for each wreath and plain white ribbon for the hangers.


 Once you’ve made it back to the beginning, and you have sufficient coverage, slip stitch into the first stitch, then switch to a smaller hook, chain 16, then bring it back down and slip stitch into the same stitch.
 Using craft glue or your handy dandy glue gun, apply decorations as you please. I am using ornaments and other Christmas decorations found in the Christmas aisles at Walmart.Here’s my one finished wreath.
 And here is the finished camo wreath
 I did a chain of cotton crochet with a tiny steel crochet hook, which of course made me question exactly what I was doing with my life to have been brought so low. I rolled it up into a little rosette and attached it to one of the wreaths using craft glue that dries clear.